BACKOFFICE – ADD A USER – Customer
In this tutorial we will see how to create Customer in the backoffice with Hybris. We will use the ‘next generation’ backoffice cockpit to create a new user
You can now access the backoffice : http://localhost:9001/backoffice/login.zul
[ Replace localhost with your Hybris domain name or ip address if it’s not a local server ! ]
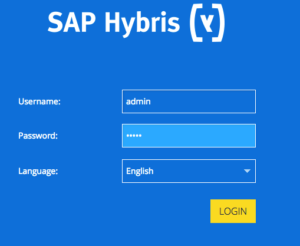
Use the admin account (admin/nimda) to login
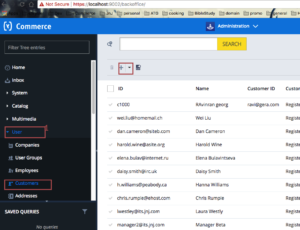
Now we will create a new customer, go under User->Customers and click on ‘+ ’. Fill all information (for example, id : email, Name : Customer A). Click on next.
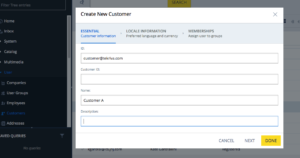
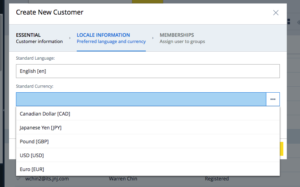
Now Select Language and Currency then Click next
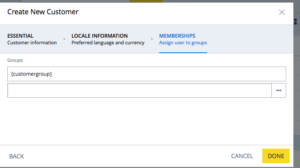
By Default all users belongs to customergroup. Click Done
You will get conformation message.
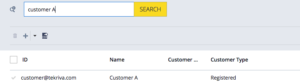
To see the newly created user type the user name in the search button and do search.